
We provide a graphical user interface for managing Git™ version management.
Git repositories can be cloned, managed, and deployed directly. You can manage many repositories in a single package, keeping track of version changes and deploying your sites whenever you want – with the touch of a button.
To access this tool:
- Log into your IntekHost Control Panel and head to your Manage Hosting area.
- Select Options > Manage on the hosting package you’d wish to edit.
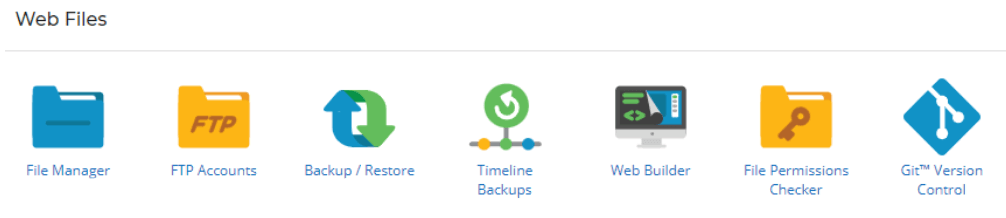
- Under the Web Files area you should see the option for GitTM Version Control – select this option.
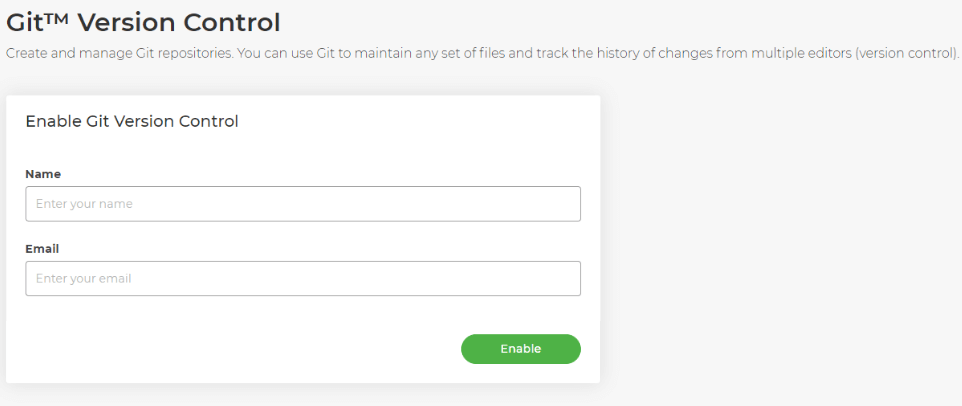
- You’ll be prompted for a name and email – set these to be the name and email you’d like to show when deploying using Git, and select Enable.
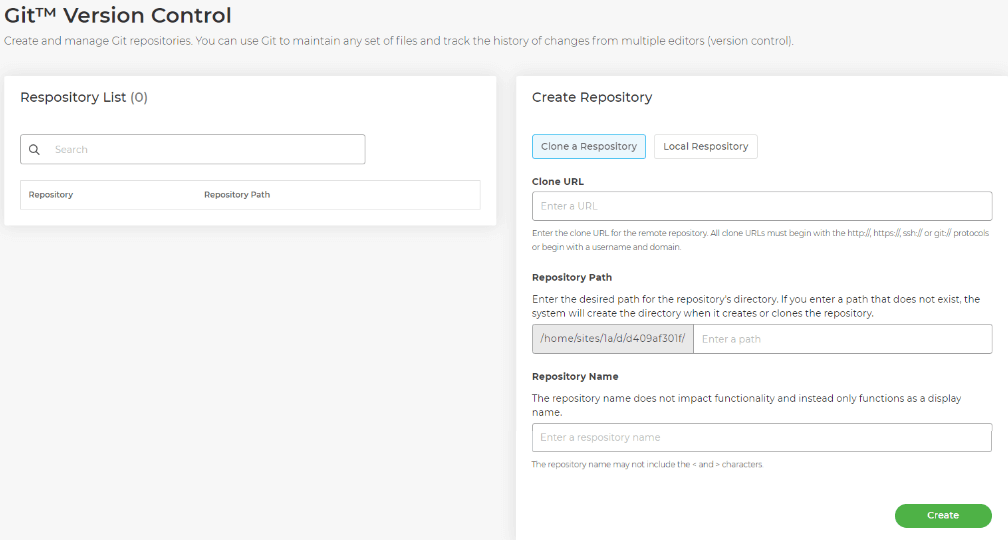
You’ll then see your current repository list and options for setting up your first repository.
Cloning a Git repository
Cloning a repository via the tool requires you to first create a remote repository using GitHub, following the steps highlighted in their documentation.
Once done, head to the repository and copy the URL by selecting Code, then copy the URL provided without the SSH protocol included.
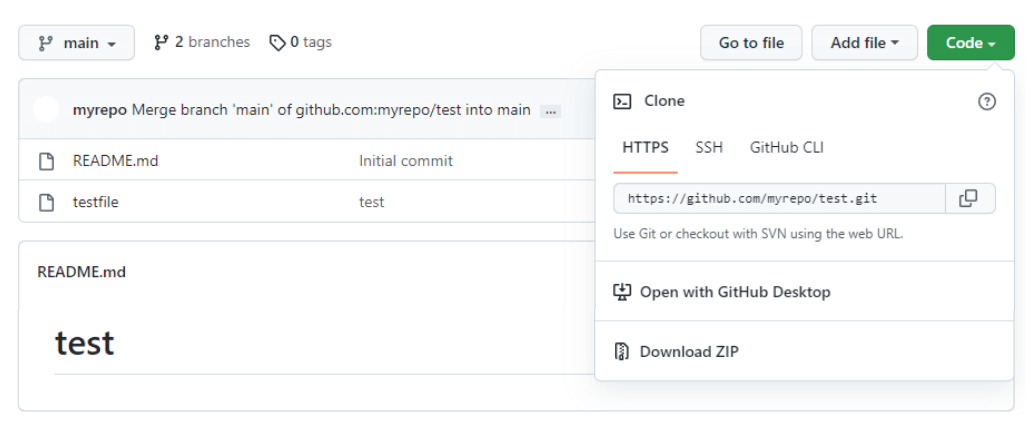 Note: For private repositories, you’ll need to set up a public/private key pair and use the SSH URL provided instead.
Once you have the URL above, paste it into the Clone URL area, then set the file path of where you want your repository to set up. Lastly, set up a Repository Name – this is purely a display name for the UI itself.
Then, hit Create. Once done, your repo should show in the list like this:
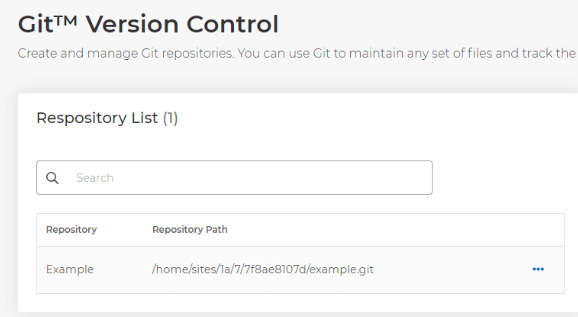
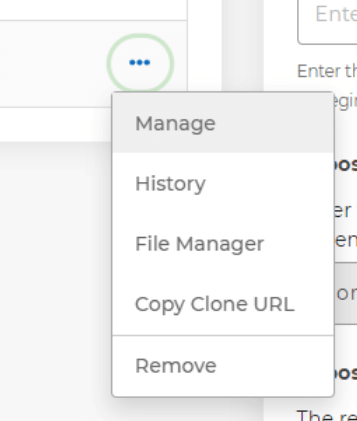
You can then use the three dots to manage the repository, check the history, go to the files directly via File Manager, copy the URL or remove the repository from the list.
Managing a repository
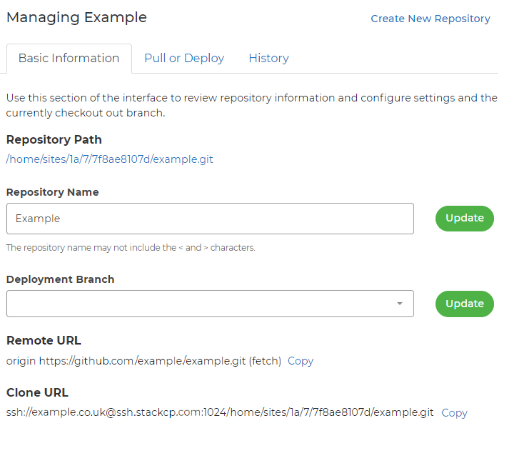
Managing a repository allows you to check and update information about the repo itself. You can do so via the Basic Information tab:
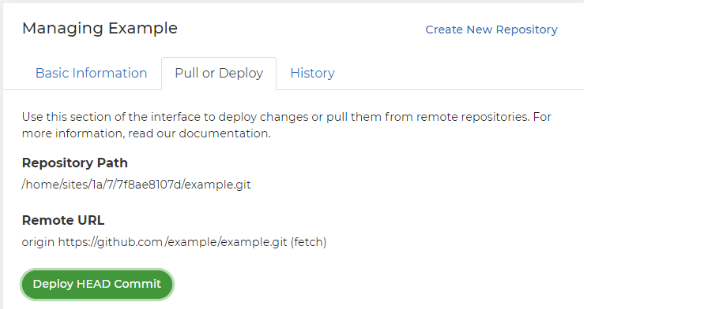
You can also pull or deploy changes to the repo using the Pull or Deploy tab. Select Deploy HEAD Commit to deploy the changes you’ve made to your repository directly.
You can use the History tab to see what changes have been deployed in the history of the Git setup.
Creating a local repository
If you don’t want to deploy to a remote repository, and instead simply use a local one in your package’s file space, you can set this up via the UI too. To do so, select Create New Repository and then hit the Local Repository tab.
.png)
You can then fill out the fields to choose the folder you’d like the repository to be in, the name, as well as selecting the Deployment Type and Deployment Branch.
The type defines whether or not you want automatically to deploy changes, or if you want to only deploy your changes when manually selecting the Deploy button.
The branch is what Git branch you want to deploy these changes to. You can have multiple branches of development to work from if you want to make tweaks to the code without affecting your repository’s main codebase.